
- Home
- Getting Started
- Documentation
- Release Notes
- Tour the Interface
- Tour the Layers
- JMARS Video Tutorials
- Lat/Lon Grid Layer
- Map Scalebar
- Nomenclature
- Crater Counting
- 3D
- Shape Layer
- Mosaics
- Map
- Advanced/Custom Maps
- Graphic/Numeric Maps
- Custom Map Sharing
- Stamp
- THEMIS
- MOC
- Viking
- CRISM Stamp Layer
- CTX
- HiRise
- HiRISE Anaglyph
- HiRISE DTM
- HRSC
- OMEGA
- Region of Interest
- TES
- THEMIS Planning
- Investigate Layer
- Landing Site Layer
- Tutorials
- Video Tutorials
- Displaying the Main View in 3D
- Finding THEMIS Observation Opportunities
- Submitting a THEMIS Region of Interest
- Loading a Custom Map
- Viewing TES Data in JMARS
- Using the Shape Layer
- Shape Layer: Intersect, Merge, and Subtract polygons from each other
- Shape Layer: Ellipse Drawing
- Shape Layer: Selecting a non-default column for circle-radius
- Shape Layer: Selecting a non-default column for fill-color
- Shape Layer: Add a Map Sampling Column
- Shape Layer: Adding a new color column based on the values of a radius column
- Shape Layer: Using Expressions
- Using JMARS for MSIP
- Introduction to SHARAD Radargrams
- Creating Numeric Maps
- Proxy/Firewall
- JMARS Shortcut Keys
- JMARS Data Submission
- FAQ
- Open Source
- References
- Social Media
- Podcasts/Demos
- Download JMARS
Delivery 1
Delivery 1
Step 1: Update JMARS
- On the login menu, locate the version number and updates button in the top right corner of the window.
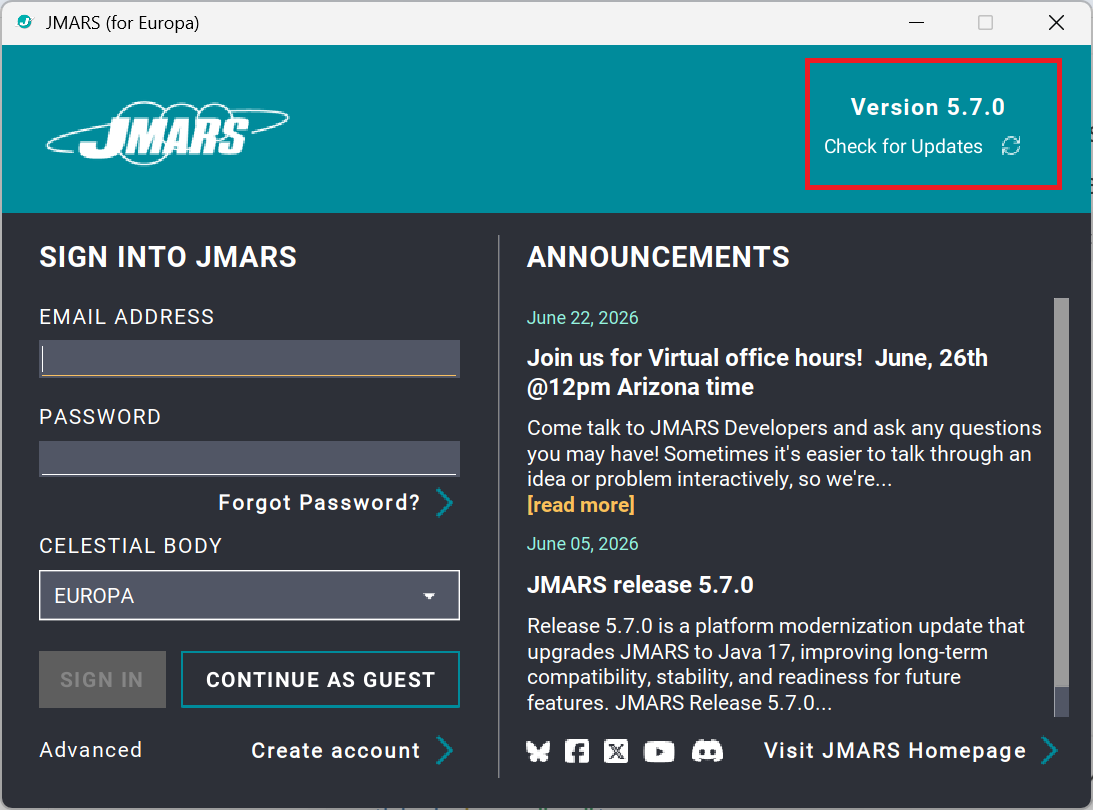
- Click the “Check for Updates” button
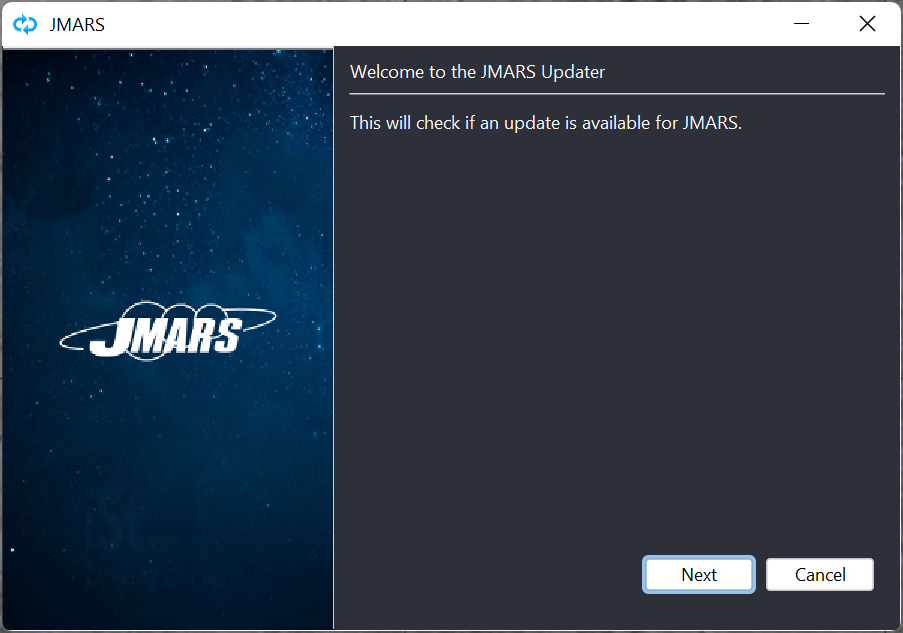
- This opens a new window. Click the “Next” button. This will check to see if there is a new update available.
- If there is new update available, you will see a prompt to update.
Step 2: Plan Validation and Rulers
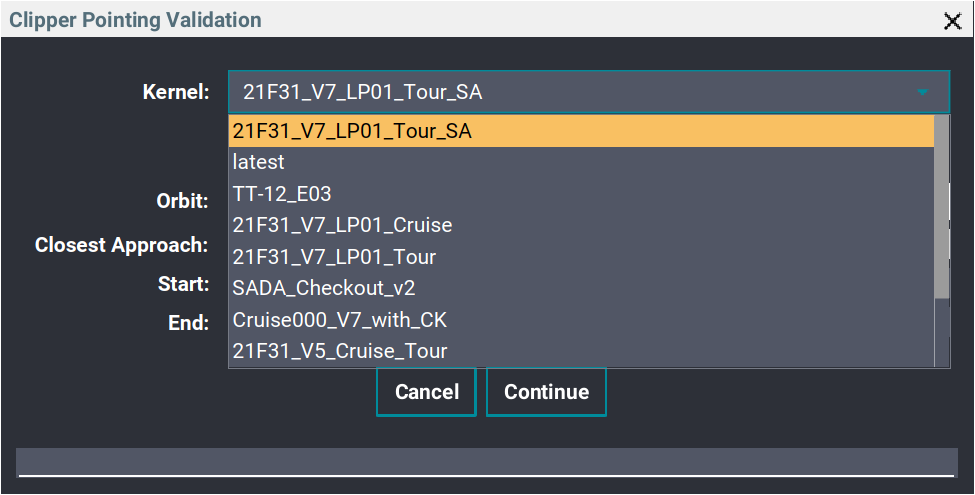
Start the Plan Validation Layer: Users working on Europa now have additional choices of metakernel selections
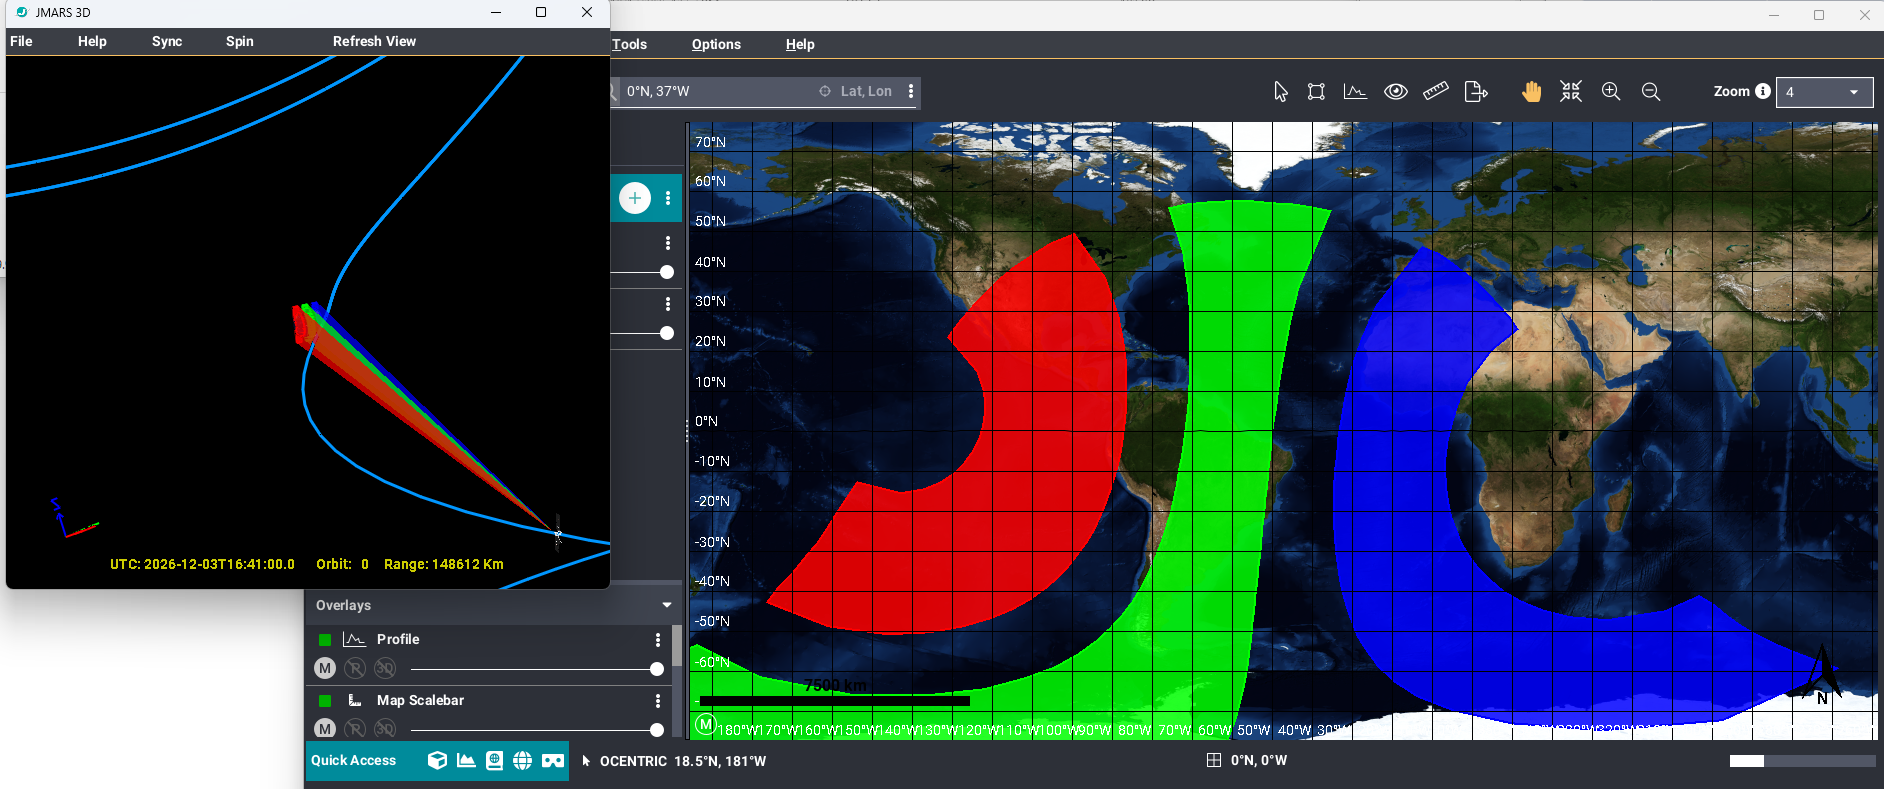
2D rendering of instrument footprints:
Events, Angle/Time and Sun Rulers are now available. As development continues, more rulers and options may be added or changed. The rulers are organized from left to right in increasing time. To access the ruler settings, right-click the ruler, then select Properties.
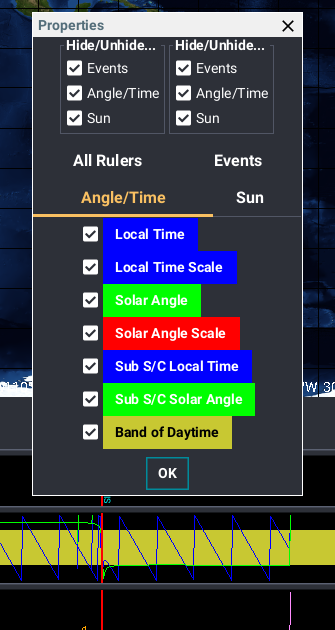
The rulers show the following types of information:
- Events: events of interest.
- Angle/Time: local time and Solar incidence angle.
- Sun: Instrument deck to Sun angle.
Rulers can be opened, closed, hidden, or unhidden from the ruler context menu. Right-clicking on a ruler presents a context-menu:
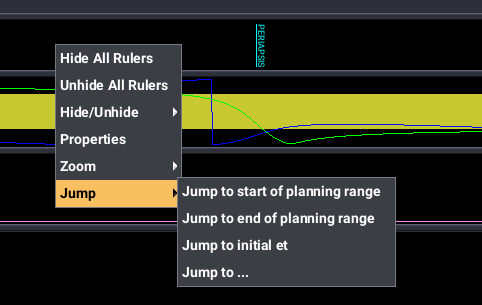
The context menu includes options such as Hide All Rulers, Unhide All Rulers, Hide/Unhide, Properties, Zoom and Jump. Use these options to control which rulers are visible and how the ruler view is displayed.
"Zoom" allows the user to narrow or expand ruler time range. "Jump" allows users to move forward and backward in time. This can also be done by using the middle mouse button. Hold the middle mouse button and drag the ruler.
Elements displayed within the rulers can be enabled or disabled using the ruler controls and related settings. The ruler timeline shows the enabled ruler elements across the selected time range:
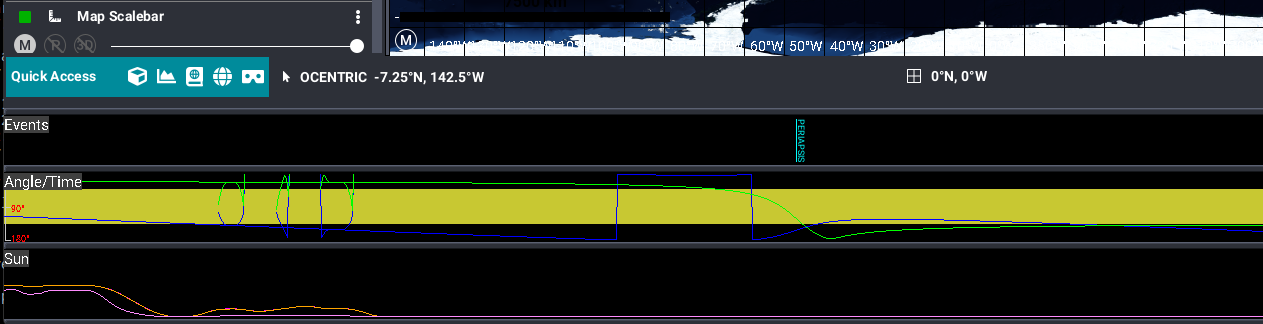
Ruler timeline view showing information across time.
Step 3: Ruler Tooltips
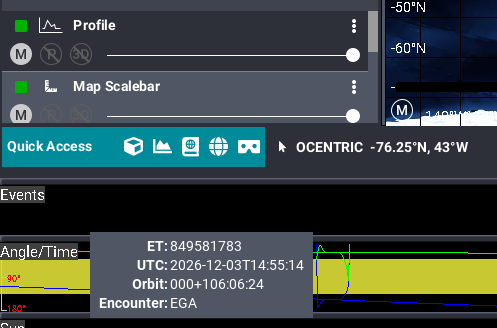
The elements that are enabled through Settings panel will provide the tooltip readout. Hover over the ruler for a moment to see the tooltip appear.
The tooltip readout depends on the ruler type.
Events:
The Events ruler tooltip shows event-related information, including the event time and encounter event.
Angle/Time:
The Angle/Time ruler tooltip shows local time and Solar incidence angle information.
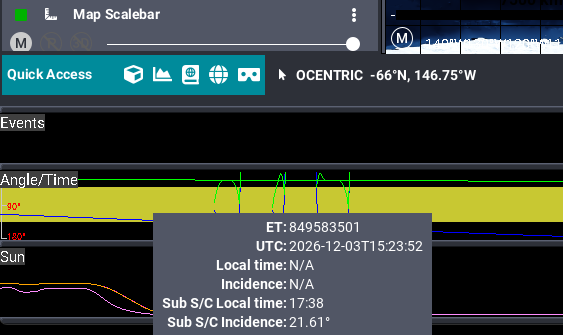
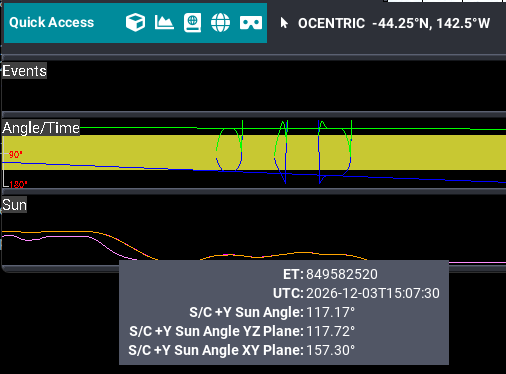
Sun:
The Sun ruler tooltip shows Instrument deck-to-Sun angle information.
Selected Time Marker: The red line in the ruler timeline represents the time entered when filling out the Plan Validation layer.
Step 4: New Settings in the Focus Panel
Backlight Intensity and Spacecraft Scale are available in the Focus Panel's Settings tab under 3D Options.
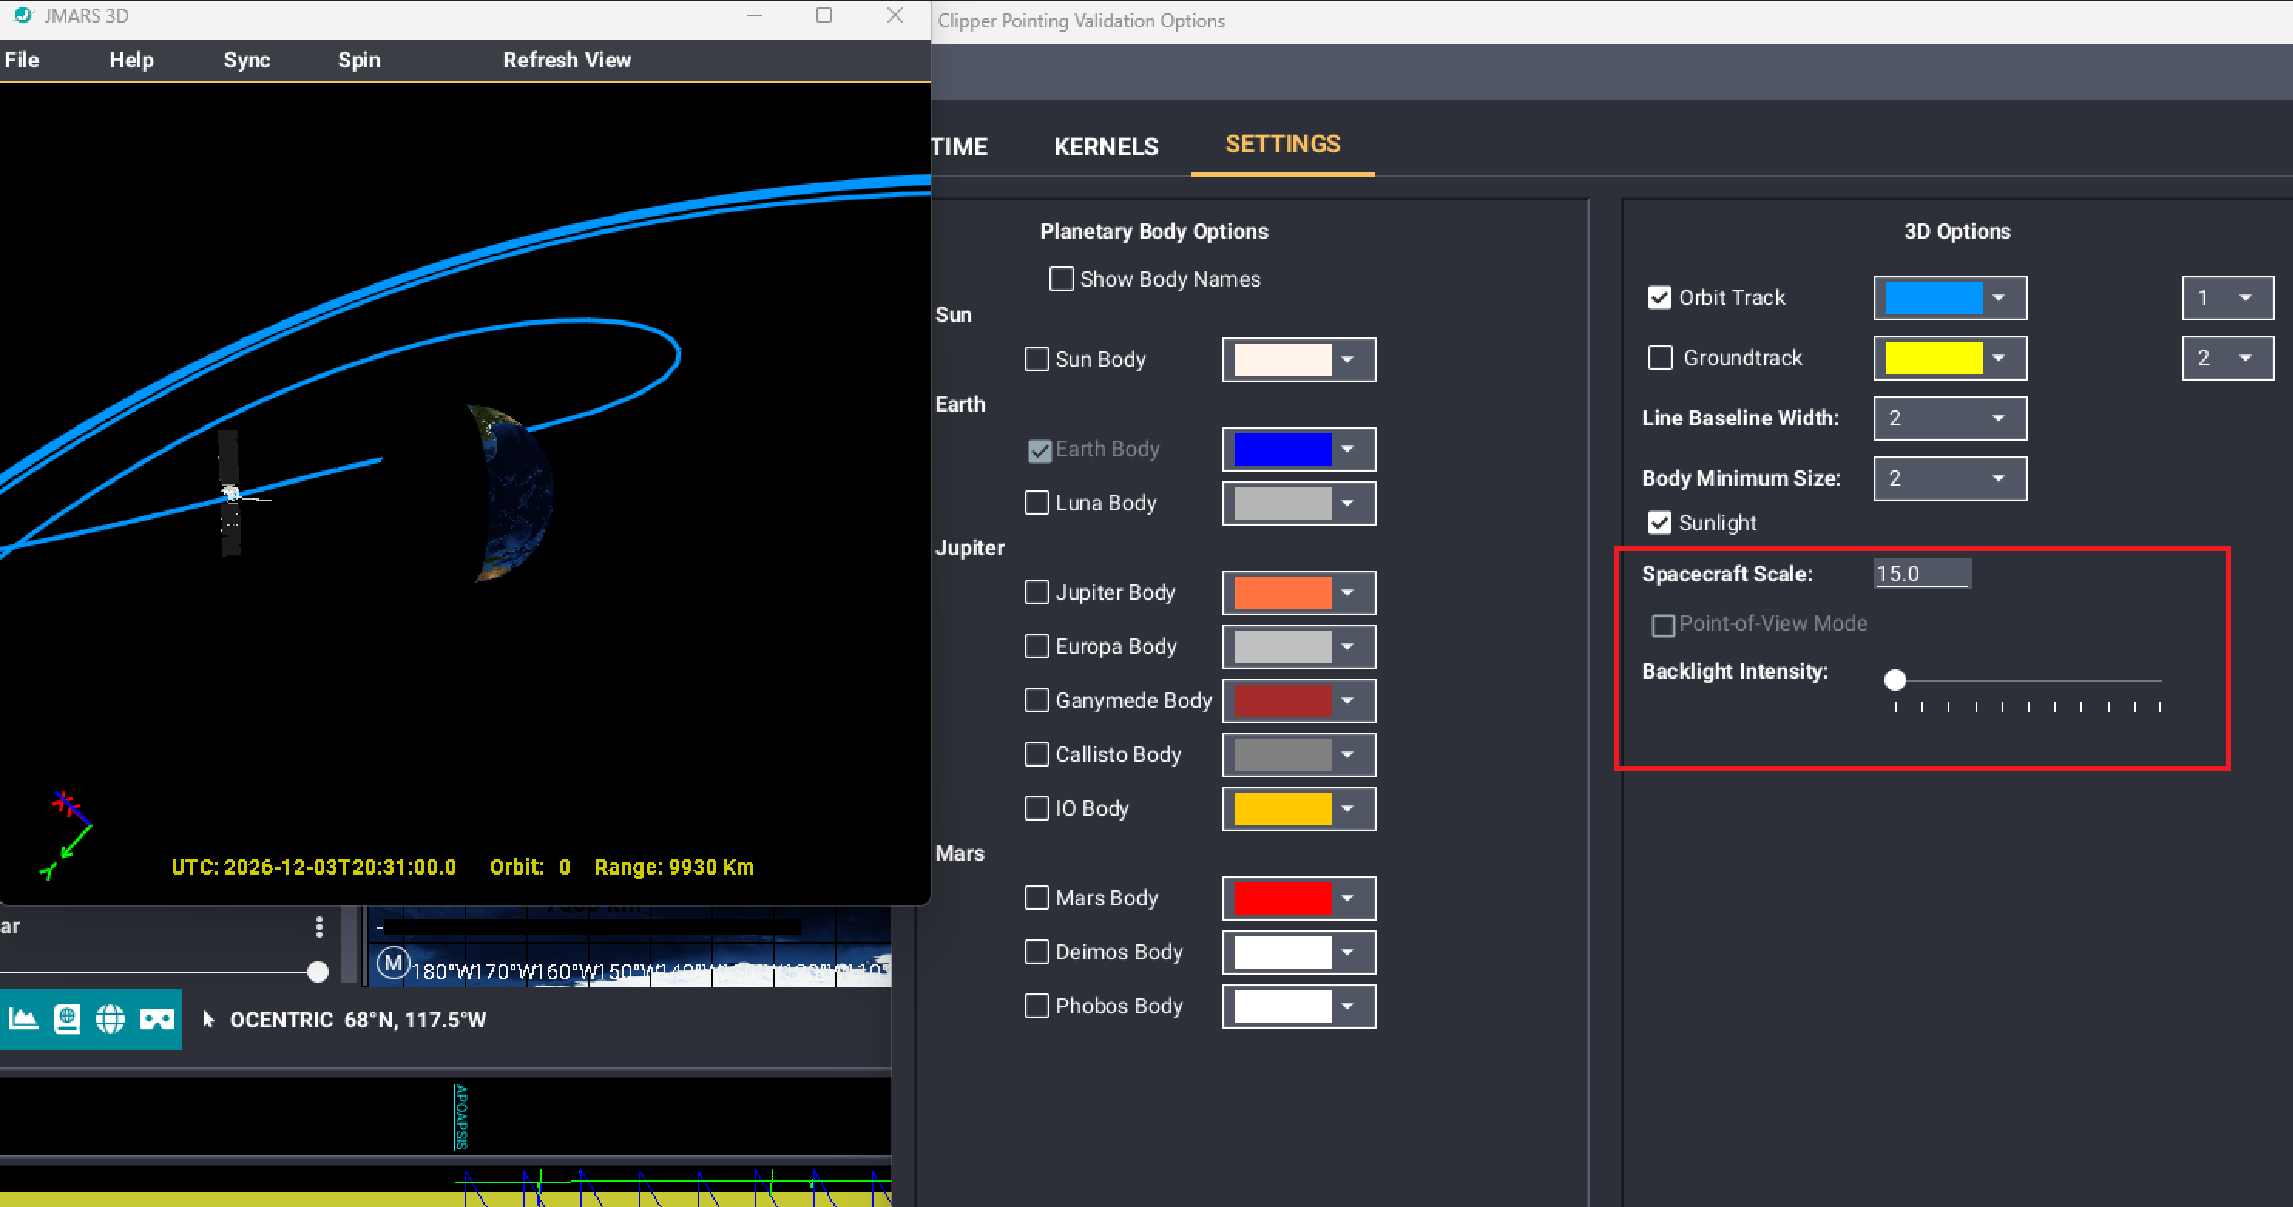
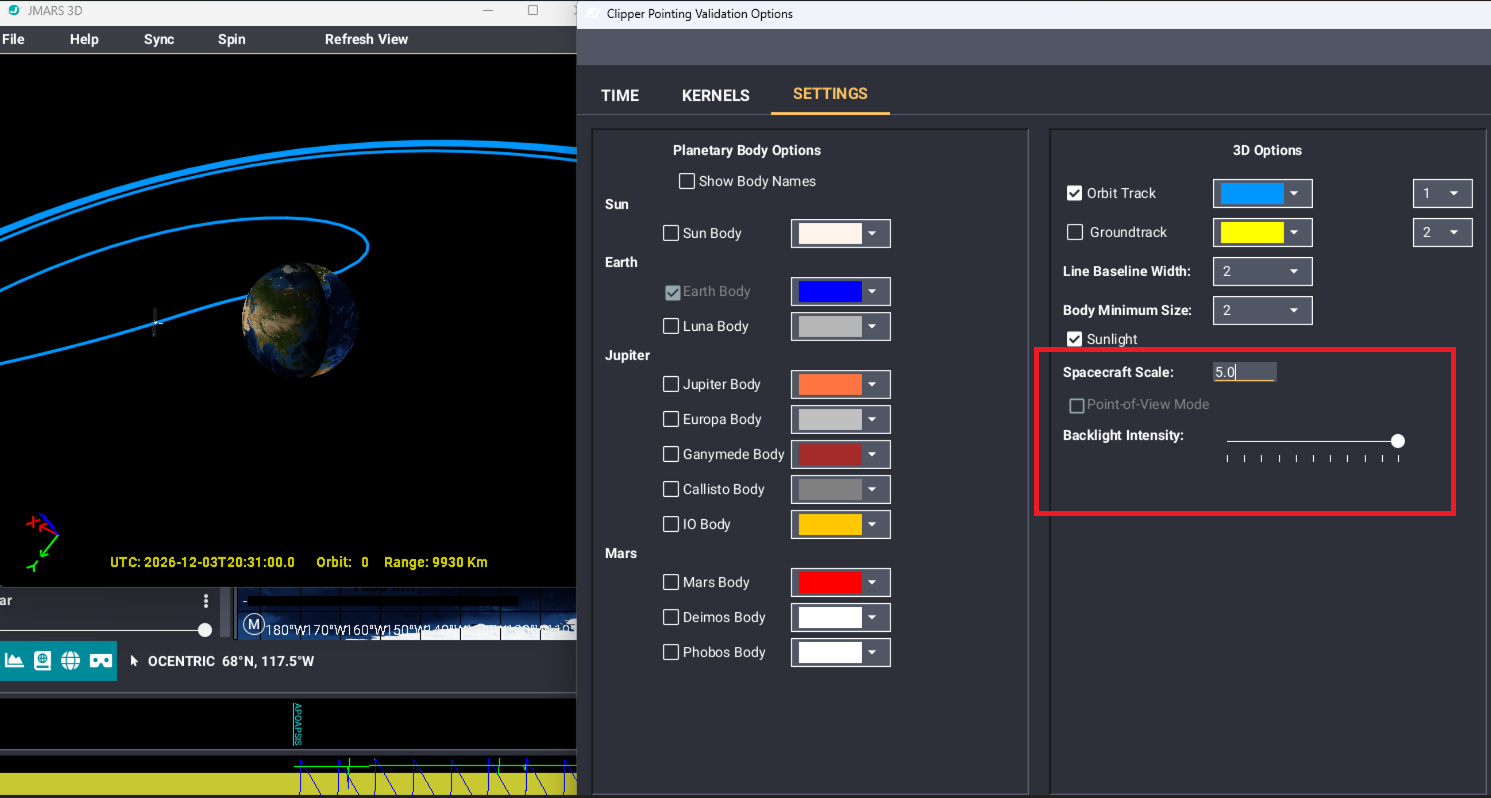
Focus Panel Settings showing Backlight Intensity and Spacecraft Scale.
Backlight Intensity controls how strongly the spacecraft and 3D scene are lit from the back. Increasing this value can make the spacecraft easier to see when the scene lighting makes it appear too dark.
Spacecraft Scale controls the displayed size of the spacecraft model in the 3D view. Increasing the scale can make the spacecraft easier to see relative to the orbit track, field-of-view cones and nearby bodies.