
- Home
- Getting Started
- Documentation
- Release Notes
- Tour the Interface
- Tour the Layers
- JMARS Video Tutorials
- Lat/Lon Grid Layer
- Map Scalebar
- Nomenclature
- Crater Counting
- 3D
- Shape Layer
- Mosaics
- Map
- Advanced/Custom Maps
- Graphic/Numeric Maps
- Custom Map Sharing
- Stamp
- THEMIS
- MOC
- Viking
- CRISM Stamp Layer
- CTX
- HiRise
- HiRISE Anaglyph
- HiRISE DTM
- HRSC
- OMEGA
- Region of Interest
- TES
- THEMIS Planning
- Investigate Layer
- Landing Site Layer
- Tutorials
- Video Tutorials
- Displaying the Main View in 3D
- Finding THEMIS Observation Opportunities
- Submitting a THEMIS Region of Interest
- Loading a Custom Map
- Viewing TES Data in JMARS
- Using the Shape Layer
- Shape Layer: Intersect, Merge, and Subtract polygons from each other
- Shape Layer: Ellipse Drawing
- Shape Layer: Selecting a non-default column for circle-radius
- Shape Layer: Selecting a non-default column for fill-color
- Shape Layer: Add a Map Sampling Column
- Shape Layer: Adding a new color column based on the values of a radius column
- Shape Layer: Using Expressions
- Using JMARS for MSIP
- Introduction to SHARAD Radargrams
- Creating Numeric Maps
- Proxy/Firewall
- JMARS Shortcut Keys
- JMARS Data Submission
- FAQ
- Open Source
- References
- Social Media
- Podcasts/Demos
- Download JMARS
Displaying the Main View in 3D
The purpose of this tutorial is to walk users through the process of loading the 3D Layer, navigating around the 3D version of the Main View and using other layers in the 3D View. The JMARS THEMIS Team Release will be used for this tutorial since the 3D Layer is not currently available in the Public Release.
Step 1: Opening the 3D Layer
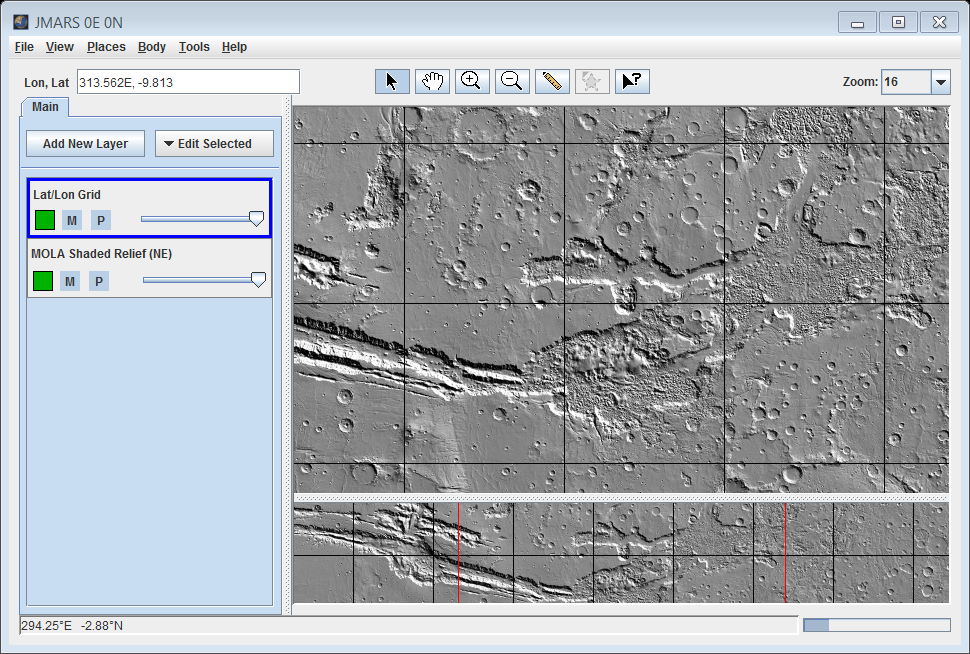
- Open JMARS as usual
- At this point, the Layer Manager should only have the MOLA Shaded Relief Layer and the Lat/Lon Layer loaded.
- Using the Lon/Lat box at the top-left of the Viewing Window, navigate to "318E, -12".
- The Viewing Window should now be displaying Eos and Aurorae Chaos
- In the Layer Manager, chose "Add New Layer" -> "3D Layer"
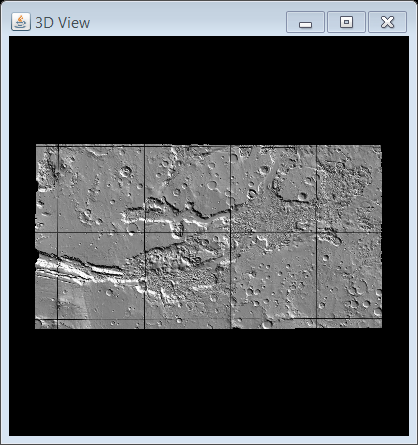
- A small 3D Layer window will open displaying the same view as the Main View. The Layer Manager will also have a 3D Layer focus panel for adjusting the parameters associated with the 3D window.
- The 3D Layer will not cause any changes in the Viewing Window, but instead will display the Main View in 3D.
Step 2: Navigating in the 3D Window
- In the 3D window, zoom in on the scene until it stretches across the entire window by clicking and dragging with the center mouse button.
- If you don't have a center mouse button, hold "Shift" and then click and drag with the right mouse button.
- View the scene at an angle by clicking and dragging with the left mouse button.
- This control, which rotates the view about the X and Y axes may take a moment to master. Try starting out with small, slow movements.
- Rotate the view by clicking and dragging with the right mouse button.

Step 3: Updating the 3D Display
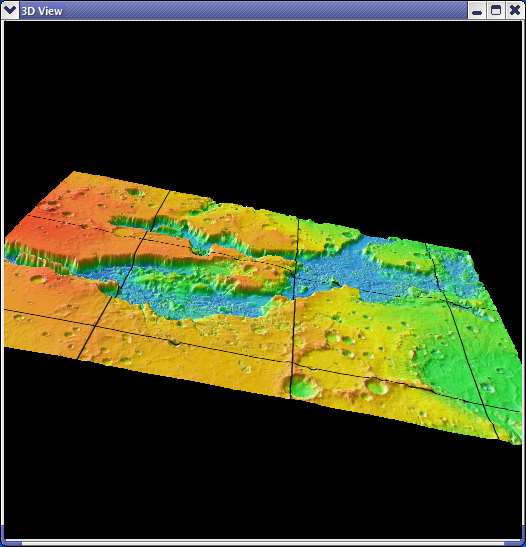
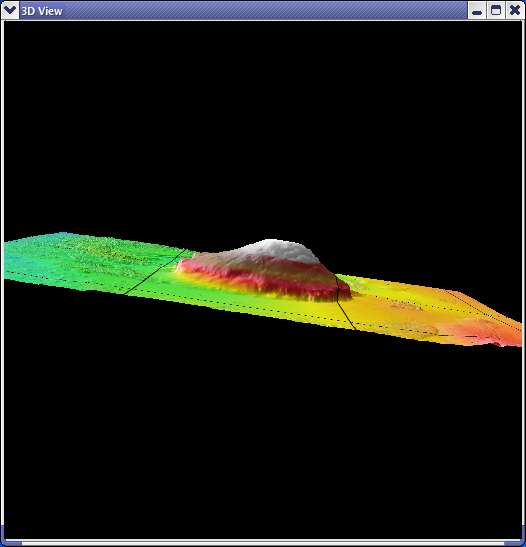
- In the Layer Manager, choose "Add New Layer" -> "Instrument" -> "MOLA" -> "MOLA Colorize Elevation" -> "View Graphic Data", move it to the bottom of the Layer Manager list and delete the MOLA Shaded Relief.
- The Viewing Window should now display the colorized altitude map, but the 3D window will not automatically refresh.
- In the 3D Layer focus panel, click on "Update Scene"
- Any layer you add to the Main View, such as the Stamp Layer, Groundtrack Layer, Nomenclature Layer, etc, can be added to the 3D view by clicking the "Update Scene" button.
Step 4: Resetting the 3D Display Camera
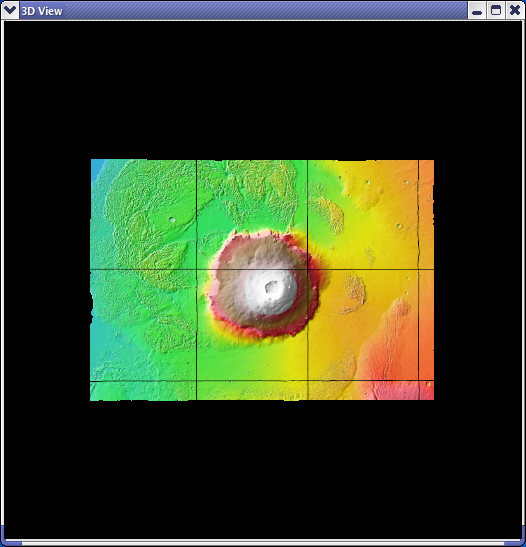
- Using the Lon/Lat field as before, move to "226E, 19".
- In the 3D Layer focus panel, click "Reset Camera"
- Whenever you move positions in the Main View, you will have to reset the 3D Layer's camera to the new position.
- You can now navigate in the 3D window, add additional layers to the Main View and refresh the 3D window using the "Update Scene" button.
Congratulations! You have finished the second JMARS tutorial!
PREVIOUS: Viewing THEMIS VIS Coverage NEXT: Finding THEMIS Observation Opportunities